Deprecated: Creation of dynamic property ET_Builder_Module_Comments::$et_pb_unique_comments_module_class is deprecated in /var/www/vhosts/designerjuice.co.uk/httpdocs/wp-content/themes/Divi/includes/builder/class-et-builder-element.php on line 1417
Flat Lay Photography: An Outlook on the Basic Tips

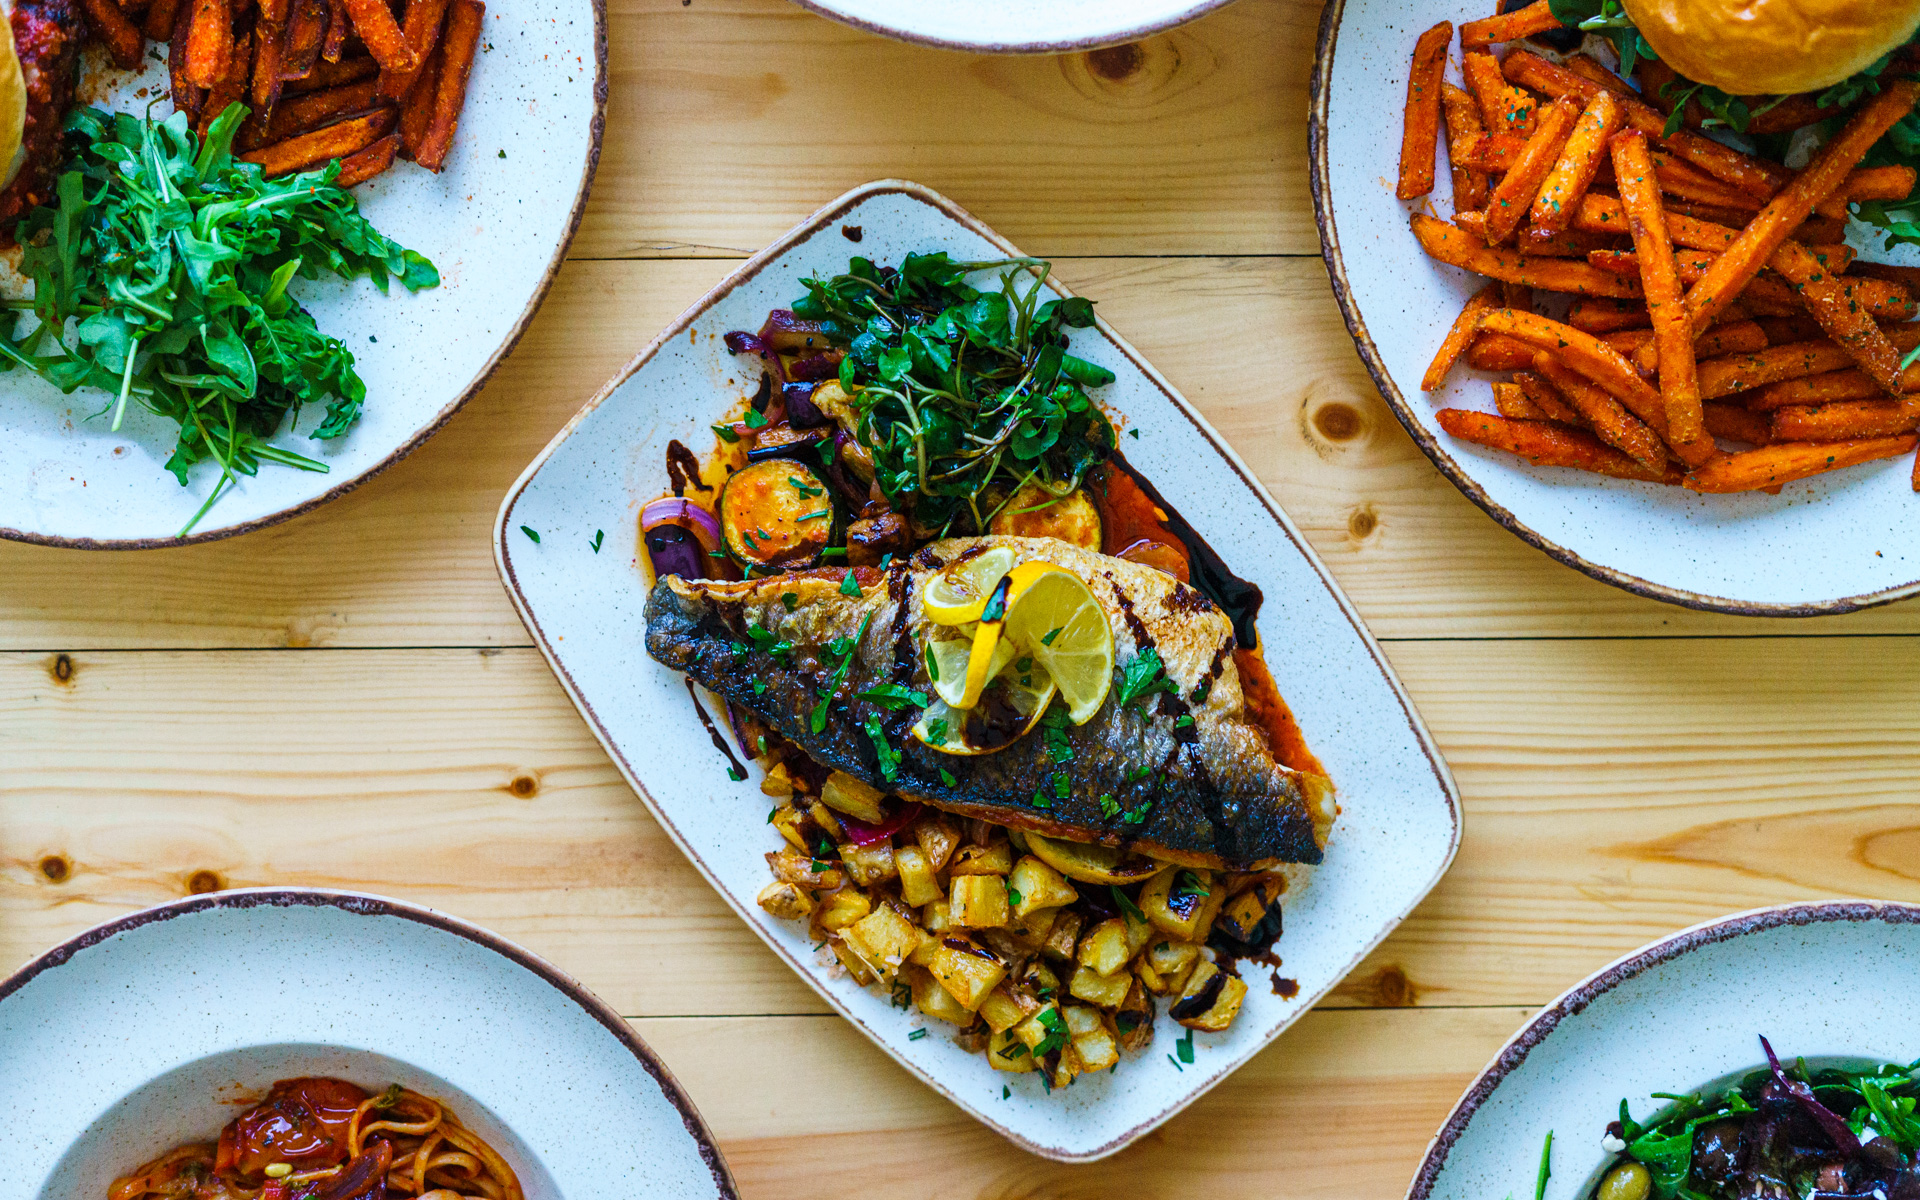
Flat Lay Photography is gaining popularity these days. As the name suggests, this is a style of capturing photographs of objects placed on a flat surface, where the photos are usually taken at a 90-degree angle straight down towards the items giving a very eye catching aesthetic to the published images.
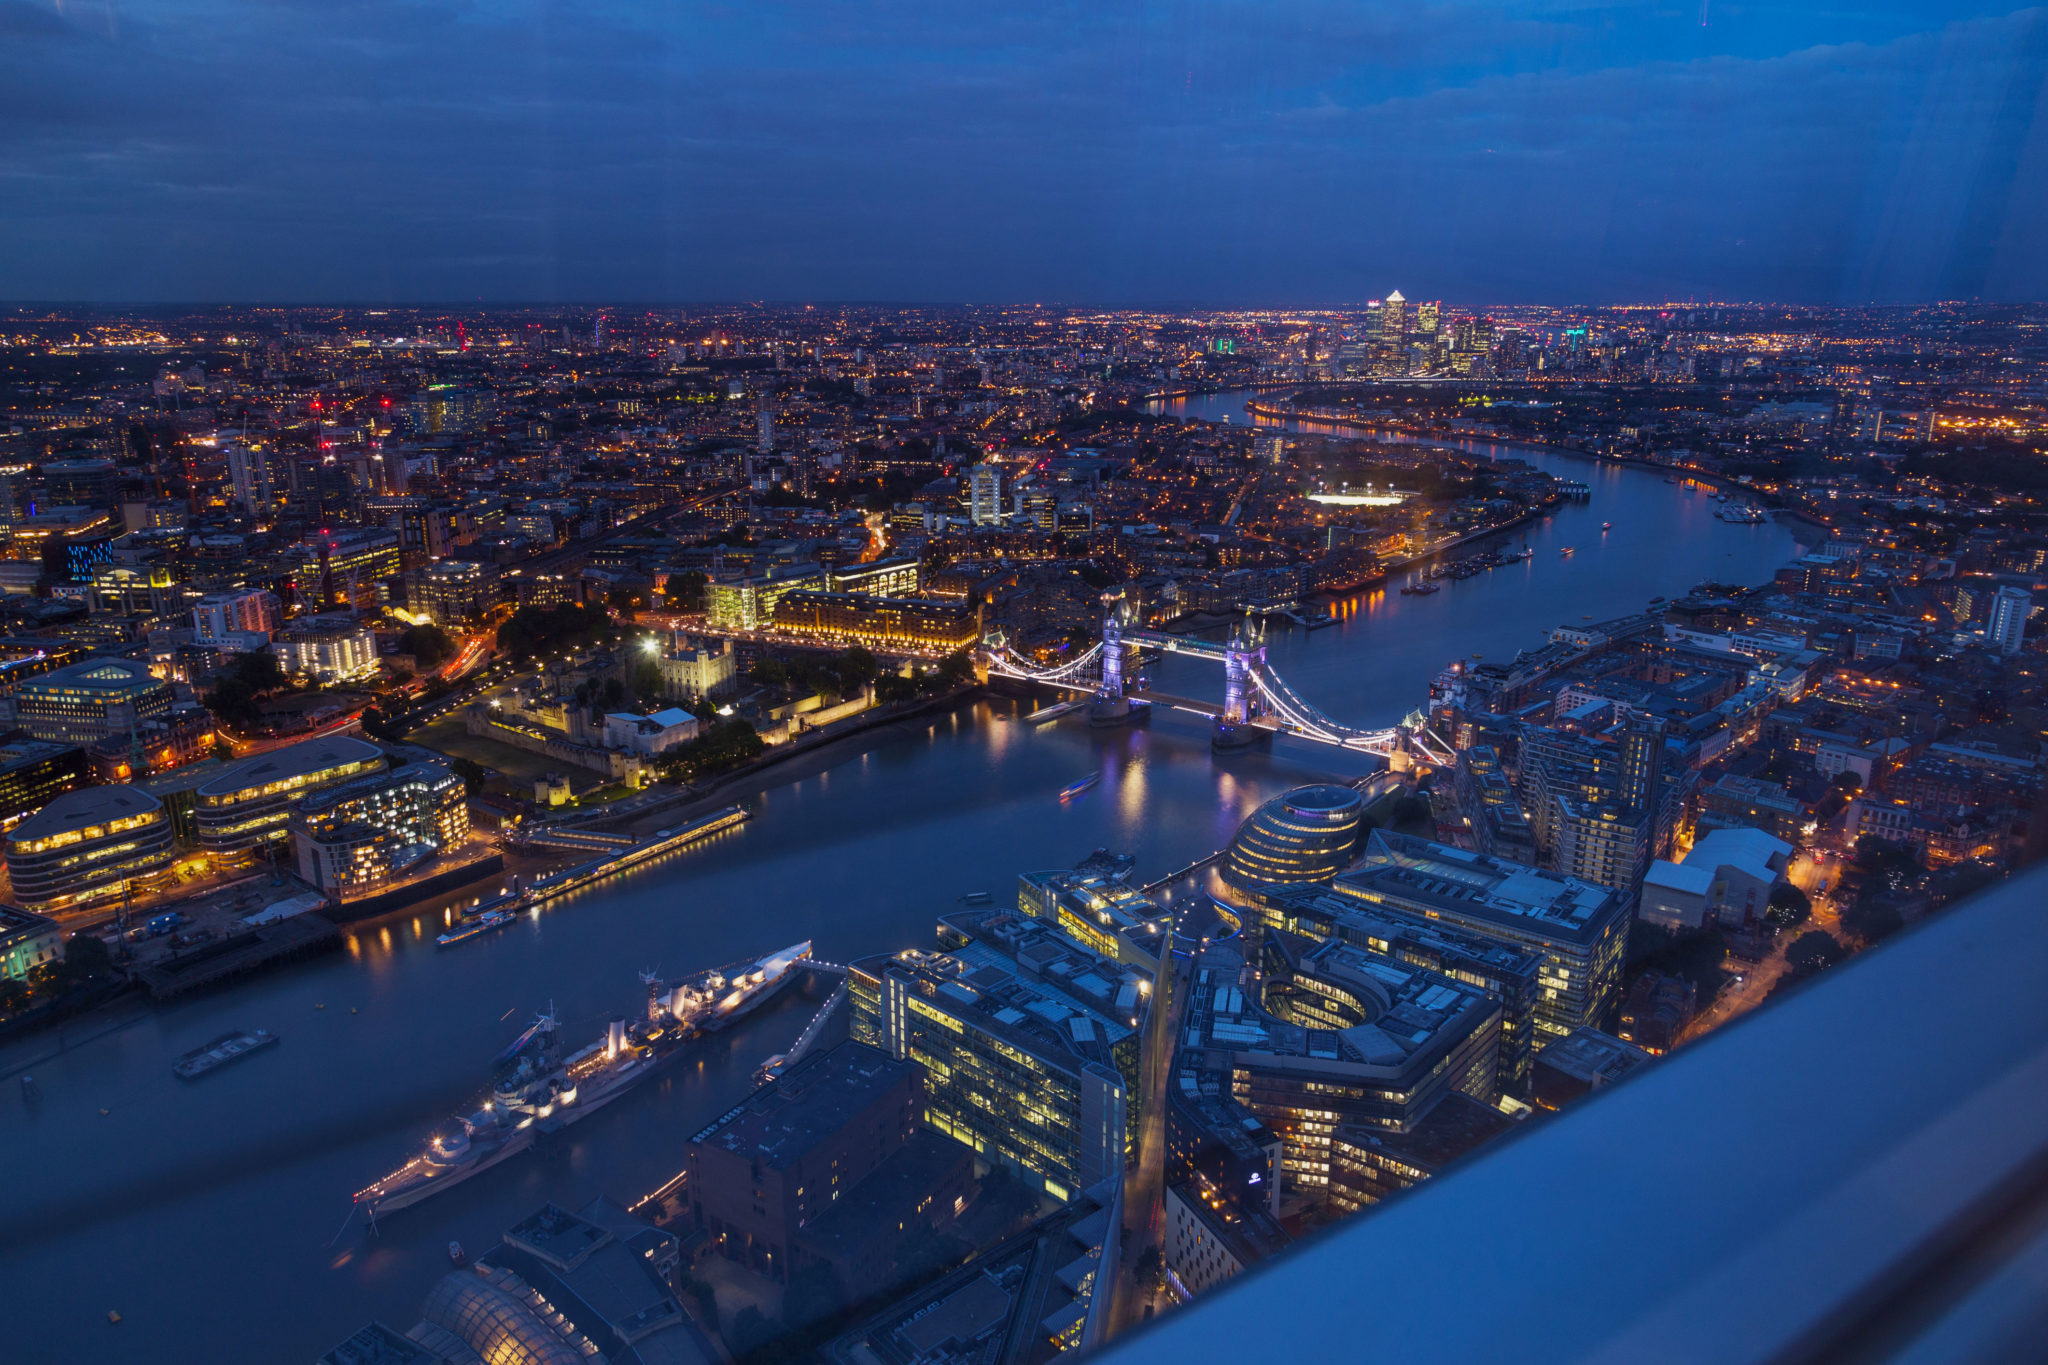
This is a popular style of photography used for situations, from product photography to food and on occasion usually with a drone, urban/architecture photography.
With this style being ever more popular on social media platforms like Instagram and Pinterest and being used in print publications such as magazines, it’s important to understand the fundamentals to get this photographic style right.
Many content creators like YouTubers are using the same method to create professional product reviews but with video.
it can be used for personal branding as well but mainly for creating ads for businesses. It may seem like an effortless job, but it needs precision and understanding the environment the photos are taken in as well as lighting.
We have prepared basic but specific tips and tricks to help any photographers take engaging, high-quality photos.
a: Background
The background of any image matters a lot! In this case, the surface where the object is placed depends on the item itself. with food, a textured surface is always something to experiment with. Think organic so use natural textures like chopping boards and fabrics, even some ingredients laying around.
With other items, you may want to have a more clear clinical looking background but using shiny surfaces can run you into some issues that later on will affect your editing of the images some glare can be too intense.
Surfaces you can use can be anything like a floor, bed, couch or desk, but think towards the end goal and how the images are going to be used and the target audience of course!
With other products, they may need isolating for a website, for example, you may want to try to keep it blank or only white. Avoid textures or patterns that can distract the focus of viewers from the objects.
Remember to set your camera to a neutral colour profile, removing any contrast, saturation and levelling out the sharpness always helps later on in editing, you want to bring back natural colours, tones and contrast while editing as it gives you more control over the finalised style of the image and you always have a neutral image to restore to if you don’t like the edits you have made.
Saving in a flat profile will also allow you to make corrections, there is nothing more embarrassing than having to arrange the same shoot again with a client.
b: Placement of Objects
The layout and positioning of objects on a surface matter a lot to create excitement in the photo. think of familiar but unusably, something expected but with a slight difference. With food for example put a fork in the salad, even include someone’s hand to make the shot natural.
Some photographers prefer to arrange the items so parts of them go out of frame, experiment with this within the first few items, overlap items and so on. you’ll know when you find the winning compositions you’ll do throughout the photoshoot as each item is replaced on the surface.
If you’re taking pictures of several items in one frame play with patterns, organic placement is always best. think of spacing even ask someone around on their opinion on spacing.
c: Lightning
Set up your shooting area in a place that is exposed to natural light as it’s the best or if you’re struggling to find an area well lit check areas where a window is close.
We always recommend natural lighting for anything like food or items as you can get much sharper shots but in some instances, you will need to take your lighting. remember to keep the shadows as soft as possible and if you’re relying on indoors lighting take test photos to see if the bulbs are throwing the colour balance off, if this is the case you’ll need to make the colours colder or warmer in editing to neutralise the tone some cheap lightbulbs give off (To warm and sometimes very orange.
Remember to position yourself to one side of the light source. By doing this, it reduces unneeded shadows over the surface, the items will also cast shadows so keep these as soft as possible.
With lighting comes focus, these play hand in hand, set your focus points and use a tripod if the room is not that lit up. the shutter speed will be slower in darker rooms so this is essential for the shot to be steady. if the room is lit every well you can shoot without a tripod.
There are more tips and we can get advanced but photography is slightly different with everyone, it’s important to develop your style search #flatlay on Instagram to find many great examples on how flat lay photography can be different and to take some inspiration.
Have any feedback?
Did you enjoy this read or feel you have an opinion to share, please feel free to leave a comment, If you would like to check out more of our posts pick a title from our ticker.
Share this post!
Click your favourate social network.
Monthly Resource Giveaways
Every month we are giving away free resource files that you can use!
Priority Discounts
Gain access to discounts on our premium produces just by signing up.
Insrpiration Feeds
Get our news and blog posts sent directly to your inbox.
0 Comments